Cotadrez
📜 REGLAMENTO DEL COTADREZ (⏬RULES - English version below⏬)
🎯 OBJETIVO
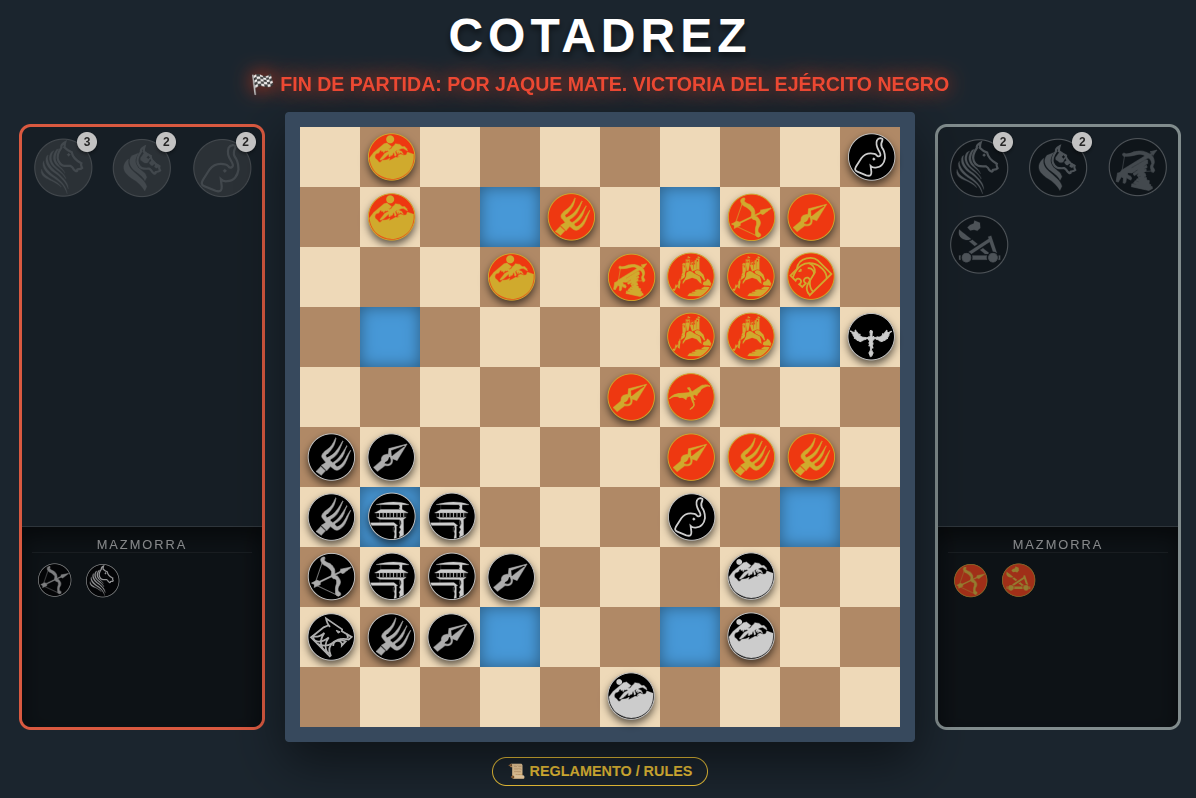
El objetivo es simple y brutal: Capturar al Rey enemigo. Puedes lograrlo mediante un Jaque Mate tradicional en el tablero o asediando su fortaleza hasta obligarle a salir y aniquilarlo.
1. FASE DE DESPLIEGUE (Niebla de Guerra)
Antes de la batalla, cada general prepara su estrategia en secreto.
1. La Fortaleza: Debes colocarla primero. Define tu territorio (Norte o Sur) y tus colores (Negro y Plata o Rojo y Oro).
2. Las Tropas: Arrastra tus unidades desde la reserva. Deben desplegarse en el anillo de Salida (las 12 casillas que rodean tu Fortaleza).
3. Las Montañas pueden colocarse en cualquier lugar de tu territorio para crear obstáculos.
4. ¡A la Batalla!: El Jugador 2 despliega "a ciegas" (no ve las tropas del Jugador 1 hasta que empieza la partida).
2. MOVIMIENTO Y COMBATE
El juego es por turnos. Las piezas capturadas van a la Mazmorra del enemigo (¡podrás rescatarlas luego!).
🛡️ Unidades Básicas
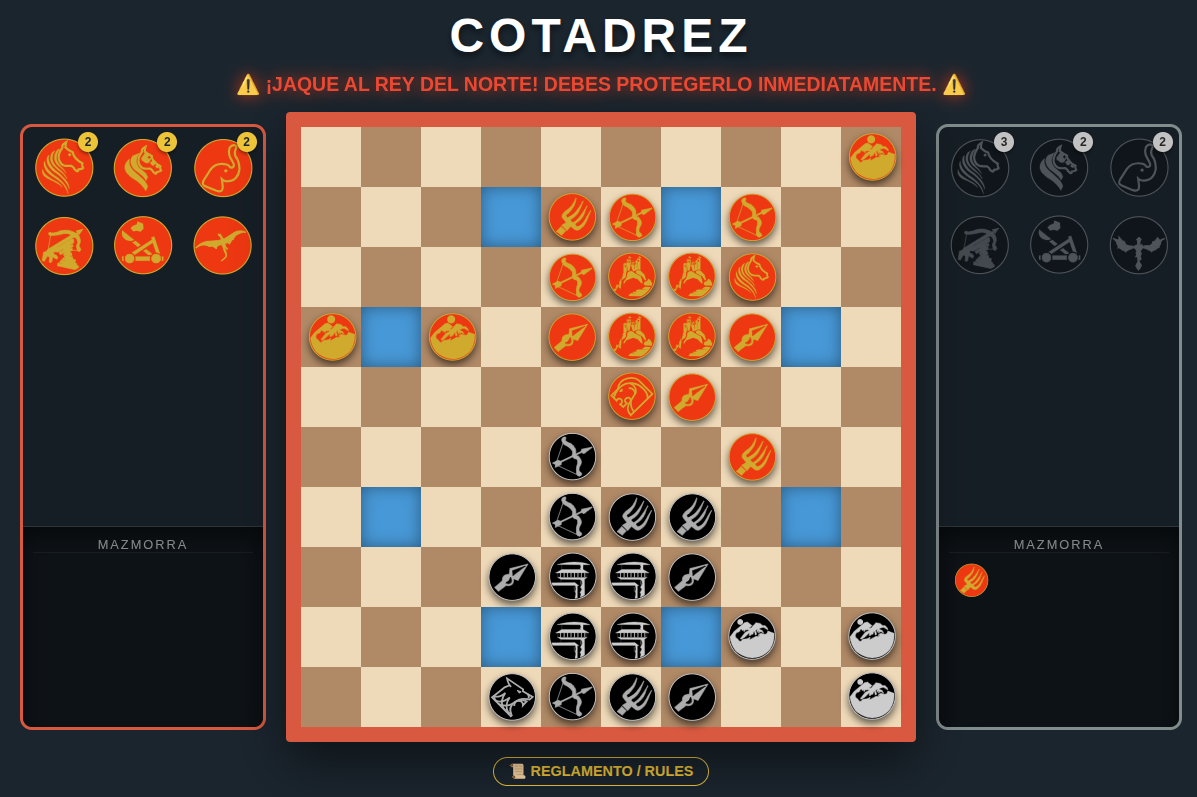
* 👑 Rey: Se mueve 1 casilla en cualquier dirección. Es la pieza clave.
* 🏚️ Chusma: Mueve 1 casilla en Horizontal o Vertical. Habilidad "Marcha Forzada": Si mueves una Chusma, puedes mover una *segunda* unidad de Chusma diferente en el mismo turno.
* 🔱 Lancero: Mueve 1 casilla en Horizontal o Vertical. Habilidad "Relevo": Puede intercambiar su posición con una unidad aliada adyacente.
* 🏹 Arquero: Mueve 1 casilla en Diagonal pero puede mover 2 casillas si hay una unidad del enemigo que capturar y el camino está libre (ideal para ataques sorpresa).
🐎 Caballería y Bestias
* 🐴 Caballería Ligera: Mueve en una "L" diagonal (salto de caballo 2x1). Puede moverse entre las tropas pero no atraviesa Montañas, Agua o Fortalezas.
* 🛡️ Caballería Pesada: Mueve en "L" corta (2x1). Puede moverse entre las tropas aliadas pero no atraviesa Montañas, Agua o Fortalezas o casillas ocupadas por el enemigo.
* 🐘 Elefante: Mueve a cualquier distancia en Horizontal o Vertical pero no atraviesa casillas ocupadas por otras unidades, Montañas, Agua o Fortalezas. Piel Dura: ¡El Elefante es inmune a ataques individuales! Solo puede ser capturado si está amenazado por 2 o más unidades a la vez, o por un Dragón.
* 🐉 Dragón: Mueve en todas direcciones sin limitación de distancia pero no puede atravesar casillas ocupadas por otras unidades o Fortalezas.
⚙️ Armas de Asedio (Ataque a Distancia)
Estas unidades tienen un modo de movimiento y un modo de ataque **sin moverse**.
* ☄️ Trabuquete: (Catapulta)
* Mover: 1 casilla en Diagonal.
* Disparar: Alcance infinito en Horizontal o Vertical. Puede disparar atravesando el agua y las casillas ocupadas por otras unidades pero no Montañas o Fortalezas.
* 🦂 Escorpión: (Ballesta)
* Mover: 1 casilla en Horizontal o Vertical.
* Disparar: Alcance infinito en Diagonal. Puede disparar atravesando el agua pero no las casillas ocupadas por otras unidades, Montañas o Fortalezas.
*Habilidad "Perforar": Puede atravesar a un enemigo para matar también al que esté justo detrás (si están alineados y no hay obstáculos entre ellos).
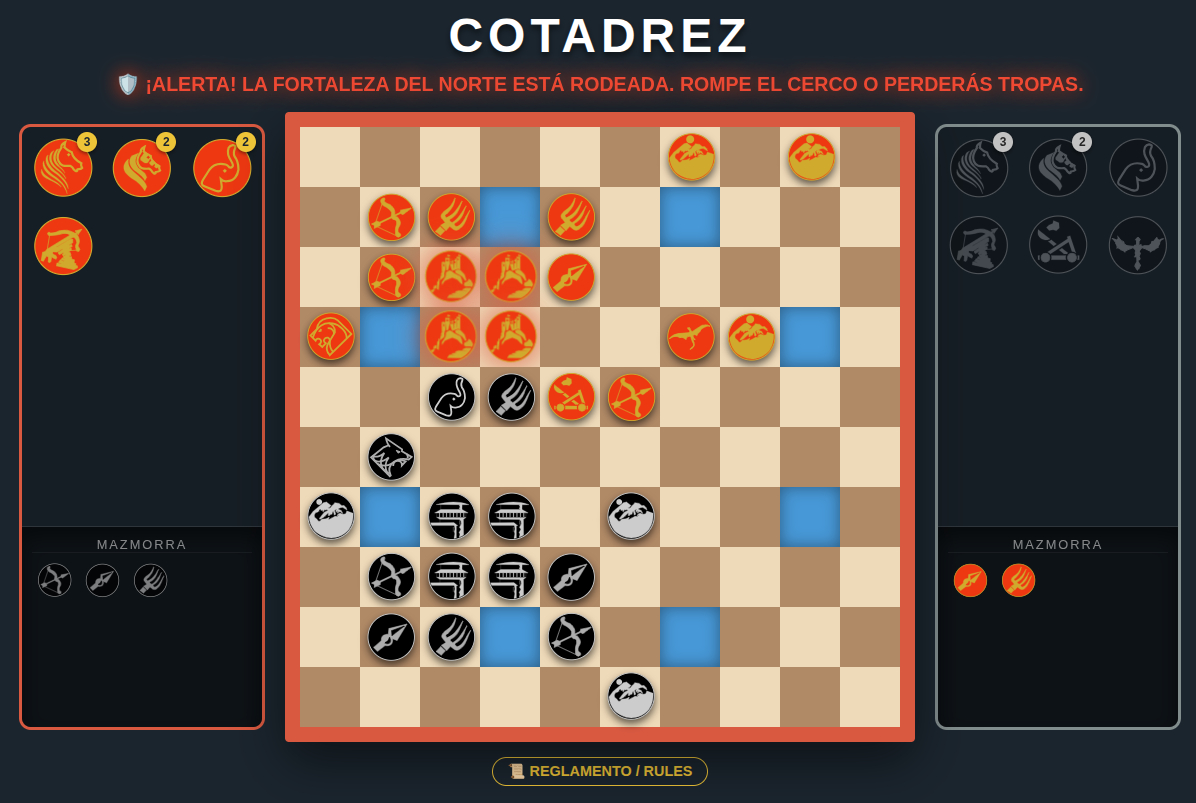
3. MECÁNICA DE ASEDIO
Si no puedes cazar al Rey en campo abierto, ¡ve a por su casa!
PASO 1: LA AMENAZA
Si colocas 2 o más unidades en el anillo de salida de la Fortaleza enemiga, se activa la ALERTA DE ASEDIO.
PASO 2: LA DEFENSA
El defensor tiene un turno para romper el cerco (capturar a los atacantes).
PASO 3: LA CONFIRMACIÓN
Si la defensa falla y el asedio persiste, el atacante retoma el control.
* Opción A: Pulsar la Fortaleza enemiga para EJECUTAR EL ASEDIO.
* Opción B: Mover una pieza para recolocarla (dando otra oportunidad al defensor) o Romper el Asedio retirando alguna tropa.
PASO 4: LAS CONSECUENCIAS (Resolución)
Si se ejecuta el asedio, ocurre lo siguiente:
1. Rescate de Prisioneros: Si el atacante tiene soldados en la mazmorra enemiga, elige a uno para liberarlo. Sus tropas de asedio vuelven a casa junto con el rescatado.
2. Intercambio de Rehenes:
* Si hubo rescate (intercambio), el defensor puede salvar 1 unidad de su Reserva. El resto son capturadas.
* Si NO hubo rescate (el atacante no tenía prisioneros), el defensor PIERDE TODA SU RESERVA.
* Regla de Oro: Si el Rey está escondido en la Reserva, sale al tablero obligatoriamente (prioridad absoluta).
🏁 FINAL DE PARTIDA
Ganas la partida si:
1. Das Jaque Mate al Rey.
2. El Rey muere atrapado en un Asedio (si estaba en la reserva y no tenía casillas libres de amenazas para escapar).
📜 COTADREZ RULES
🎯 OBJECTIVE
The objective is simple and brutal: Capture the enemy King. You can achieve this through a traditional Checkmate on the board or by besieging their fortress until forcing him out to annihilate him.
1. DEPLOYMENT PHASE (Fog of War)
Before the battle, each general prepares their strategy in secret.
1. The Fortress: You must place it first. Define your territory (North or South) and your colors (Black and Silver or Red and Gold).
2. The Troops: Drag your units from the reserve. They must be deployed in the Exit Ring (the 12 squares surrounding your Fortress).
3. The Mountains can be placed anywhere in your territory to create obstacles.
4. To Battle!: Player 2 deploys "blindly" (cannot see Player 1's troops until the game starts).
2. MOVEMENT AND COMBAT
The game is turn-based. Captured pieces go to the enemy Dungeon (you can rescue them later!).
🛡️ Basic Units
* 👑 King: Moves 1 square in any direction. It is the key piece.
* 🏚️ Rabble: Moves 1 square Horizontally or Vertically. Ability "Forced March": If you move a Rabble, you can move a *second* different Rabble unit in the same turn.
* 🔱 Lancer: Moves 1 square Horizontally or Vertically. Ability "Relay": Can swap its position with an adjacent allied unit.
* 🏹 Archer: Moves 1 square Diagonally but can move 2 squares if there is an enemy unit to capture and the path is clear (ideal for surprise attacks).
🐎 Cavalry and Beasts
* 🐴 Light Cavalry: Moves in a diagonal "L" (knight's jump 2x1). Can move through troops but does not cross Mountains, Water, or Fortresses.
* 🛡️ Heavy Cavalry: Moves in a short "L" (2x1). Can move through allied troops but does not cross Mountains, Water, or Fortresses or squares occupied by the enemy.
* 🐘 Elephant: Moves any distance Horizontally or Vertically but does not cross squares occupied by other units, Mountains, Water, or Fortresses. Thick Skin: The Elephant is immune to individual attacks! It can only be captured if it is threatened by 2 or more units simultaneously, or by a Dragon.
* 🐉 Dragon: Moves in all directions without distance limitation but cannot cross squares occupied by other units or Fortresses.
⚙️ Siege Weapons (Ranged Attack)
These units have a movement mode and an attack mode **without moving**.
* ☄️ Trebuchet:
* Move: 1 square Diagonally.
* Fire: Infinite range Horizontally or Vertically. Can fire across water and squares occupied by other units but not Mountains or Fortresses.
* 🦂 Scorpion:
* Move: 1 square Horizontally or Vertically.
* Fire: Infinite range Diagonally. Can fire across water but not squares occupied by other units, Mountains, or Fortresses.
*Ability "Pierce": Can pass through an enemy to also kill the one directly behind it (if aligned and there are no obstacles between them).
3. SIEGE MECHANIC
If you can't hunt the King in open field, go for his home!
STEP 1: THE THREAT
If you place 2 or more units in the Exit Ring of the enemy Fortress, the SIEGE ALERT is activated.
STEP 2: THE DEFENSE
The defender has one turn to break the siege (capture the attackers).
STEP 3: THE CONFIRMATION
If the defense fails and the siege persists, the attacker regains control.
* Option A: Click the Fortress to EXECUTE THE SIEGE.
* Option B: Move a piece to reposition (giving the defender another chance) or break the siege.
STEP 4: THE CONSEQUENCES (Resolution)
If the siege is executed, the following occurs:
1. Prisoner Rescue: If the attacker has soldiers in the enemy dungeon, they choose one to release. Their siege troops return home along with the rescued unit.
2. Exchange:
* If there was a rescue (exchange), the defender can save 1 unit from their Reserve. The rest are captured.
* If there was NO rescue (the attacker had no prisoners), the defender LOSES THEIR ENTIRE RESERVE.
* Golden Rule: If the King is hiding in the Reserve, he enters the board compulsorily (absolute priority).
🏁 END OF GAME
You win the game if:
1. You deliver a Checkmate to the King.
2. The King dies trapped in a Siege (if he was in the reserve and had no free squares safe from threats to escape to).
📝 SISTEMA DE NOTACIÓN DEL COTADREZ
Coordenadas: a-j (Columnas) / 1-10 (Filas).
Formato: `Pieza` + 'Origen' + `Destino`. (Origen omitido si no hay ambigüedad).
1. ENCABEZADO
[Event "Duelo Jugador1 vs Jugador2"]
[Date "2025.12.28"]
[J1 "Jugador 1 (Rojo - Sur)"]
[J2 "Jugador 2 (Negro - Norte)"]
2. FASES DE LA PARTIDA
* rF` + `Casillas de la diagonal : Inicio del Despliegue: El primer movimiento siempre es colocar la Fortaleza. Esto define los colores y el territorio del jugador.
* // : Cambio de Despliegue: Indica el fin del despliegue del Jugador 1 y el inicio del Jugador 2.
* >>>: Inicio del Combate: Fin de la fase de despliegue. Se levanta la niebla y empieza el juego real.
3. LAS PIEZAS (Letras Mayúsculas)
* A: Arquero
* B: Ballesta (Escorpión)
* C: Caballería Ligera
* D: Dragón
* E: Elefante
* F: Fortaleza (solo mueve en el Despliegue)
* H: cHusma
* L: Lancero
* M: Montaña (solo mueve en el Despliegue)
* P: Caballería Pesada
* R: Rey
* T: Trabuquete
4. SÍMBOLOS DE ACCIÓN
* = : Intercambio de Lanceros (Ej: L=Rd5).
* x : Captura / Disparo (Ej: Rxe2, Txf9).
* & : Marcha Forzada (Chusma) (Ej: Hd3 & Hg8).
* + : Jaque.
* # : Jaque Mate.
5. PREFIJOS DE ORIGEN
* r : De Reserva a Tablero (Despliegue/Intercambio de Rehenes). (Ej: rLe5).
* m : De Mazmorra a Reserva (Rescate). (Ej: mA).
6. EL BLOQUE DE ASEDIO (->ASEDIO ... <-ASEDIO)
Todo lo que ocurre durante la "Alerta de Asedio" se escribe dentro de este bloque.
A) ASEDIO ROTO O CANCELADO
El bloque se cierra cuando la amenaza desaparece.
> (Ej:Dxd6->ASEDIO Pe7 Cf5 <-ASEDIO)
B) ASEDIO EJECUTADO (Con consecuencias)
Si se confirma, se listan los eventos de mazmorra (rescate) y reserva (intercambio), cerrando con el balance de bajas.
* Secuencia:... ->ASEDIO + Defensa + m(Rescate) + r(Intercambio) + <-ASEDIO (Balance).
*Balance: (RetornoAtacante)r (BajasDefensor)m.
>Ejemplo Completo:
> Dxd6->ASEDIO Pe7 mE rRh6 <-ASEDIO (DEHr EEPBm).
> (Inicio -> Defensa fallida -> Rescate de Elefante -> Intercambio de Rey -> Fin con retorno de Dragón/Elefante/Chusma y captura de 2 Elefantes/Pesada/Ballesta).
Development log
- Quick Update: Reverting to a more stable build89 days ago
- Full support for multiple languages.Jan 05, 2026
- Terminando de pulir la páginaDec 31, 2025
Comments
Log in with itch.io to leave a comment.
Gracias polocotarelo, te amo por hacer un juego tan increíblemente bien hecho. Estaría bien una IA contra la que jugar, ya que nadie quiere jugar con migo, pero me gusta jugar contra mi mismo.
Hello and thanks for the chess game. But I'm not so sure about the Light Cavalry's movement. It seems to be not blocked by any square or piece.
Hi! Thanks for the feedback. You’re right that the Light Cavalry isn't blocked by allied or enemy units. However, it cannot pass through squares occupied by mountains, water, or fortresses.
The reason it seems hard to block is that the unit always has two possible paths to reach its destination. For a block to be effective, there must be a specific combination of terrain (like mountains or water) obstructing both paths simultaneously.
Thanks for your warm and detailed reply!
Gran juego. Es muy entretenido. ¿Puedes poner versión online?
Nice! Will wait online connect version